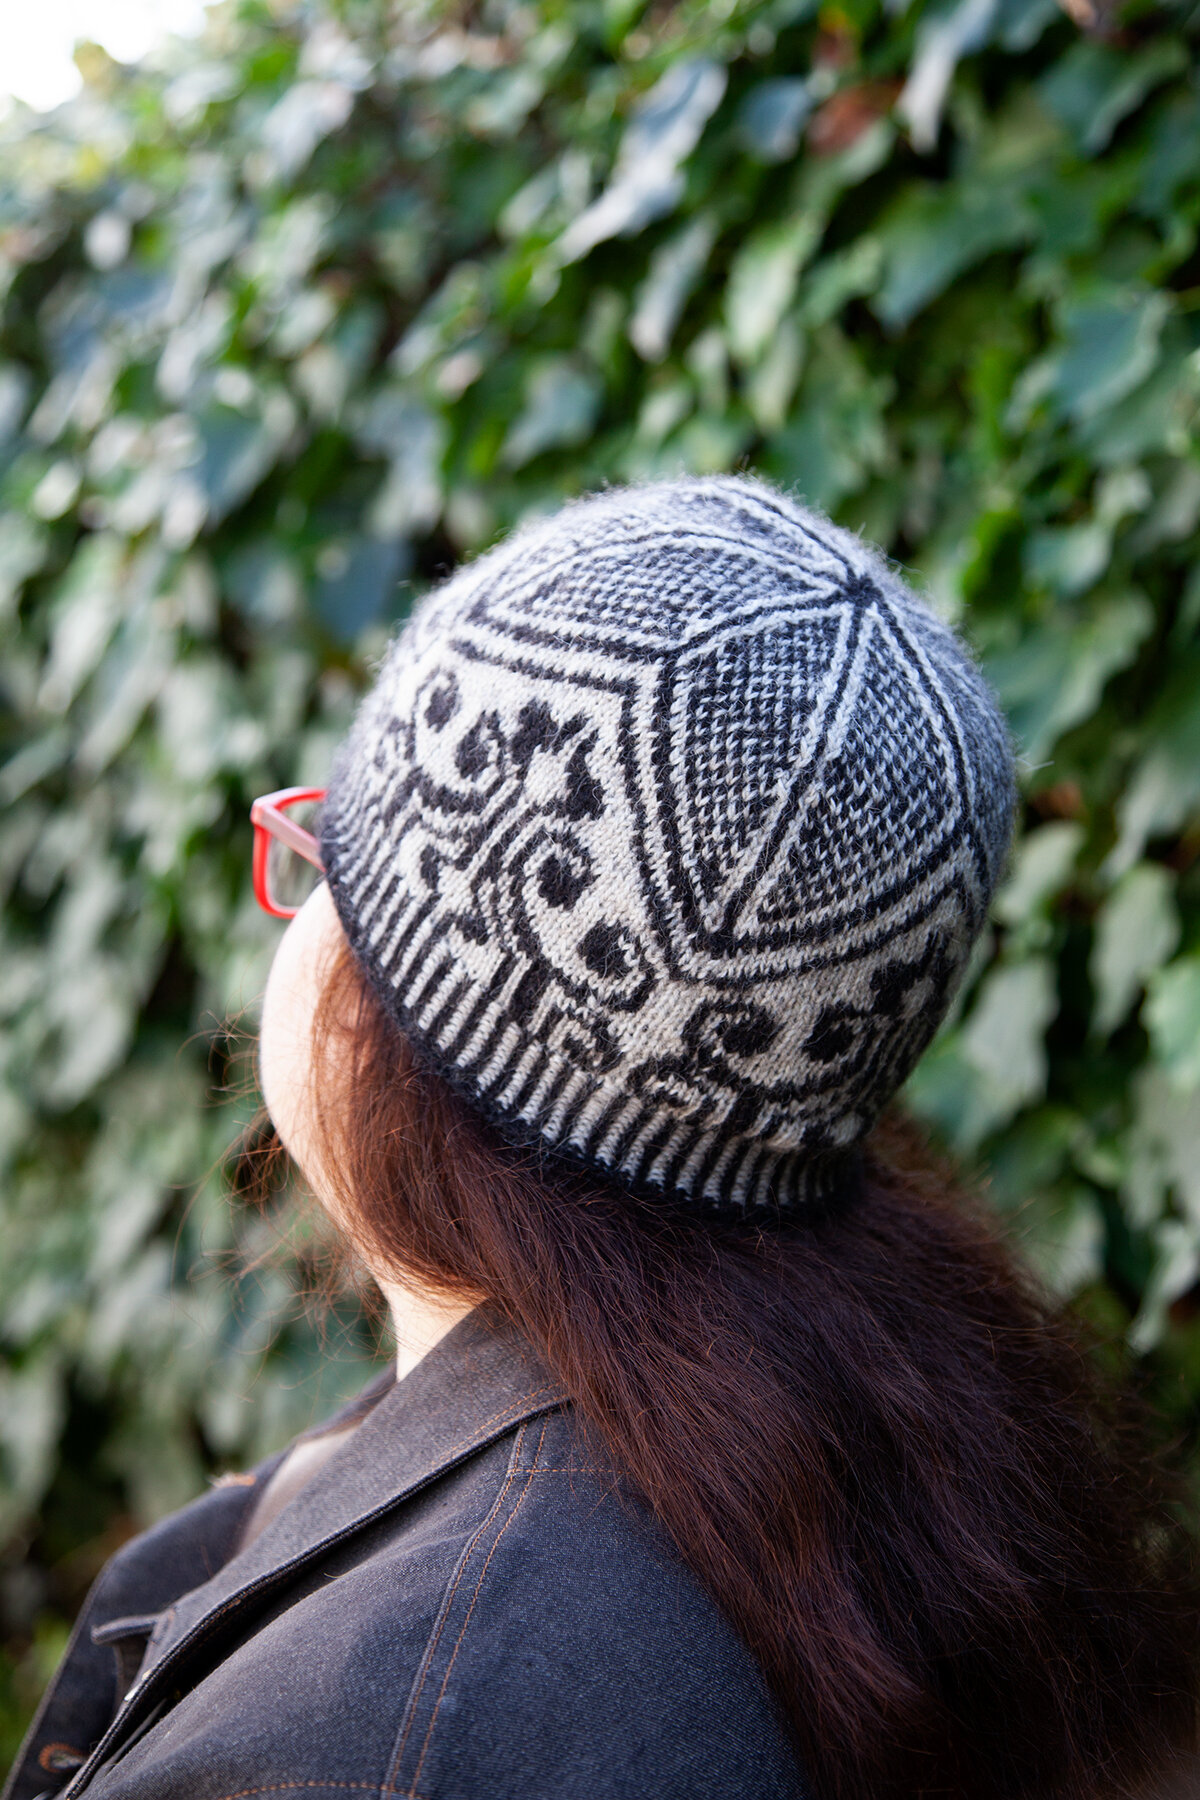
If you want your newly-knitted hat to look its best, I really recommend taking the time to finish your hat by blocking it, especially if you’ve used lace stitches or colourwork. You’ll be able to tidy up uneven stitches (at least to a certain degree) and open up a lace or mosaic pattern.
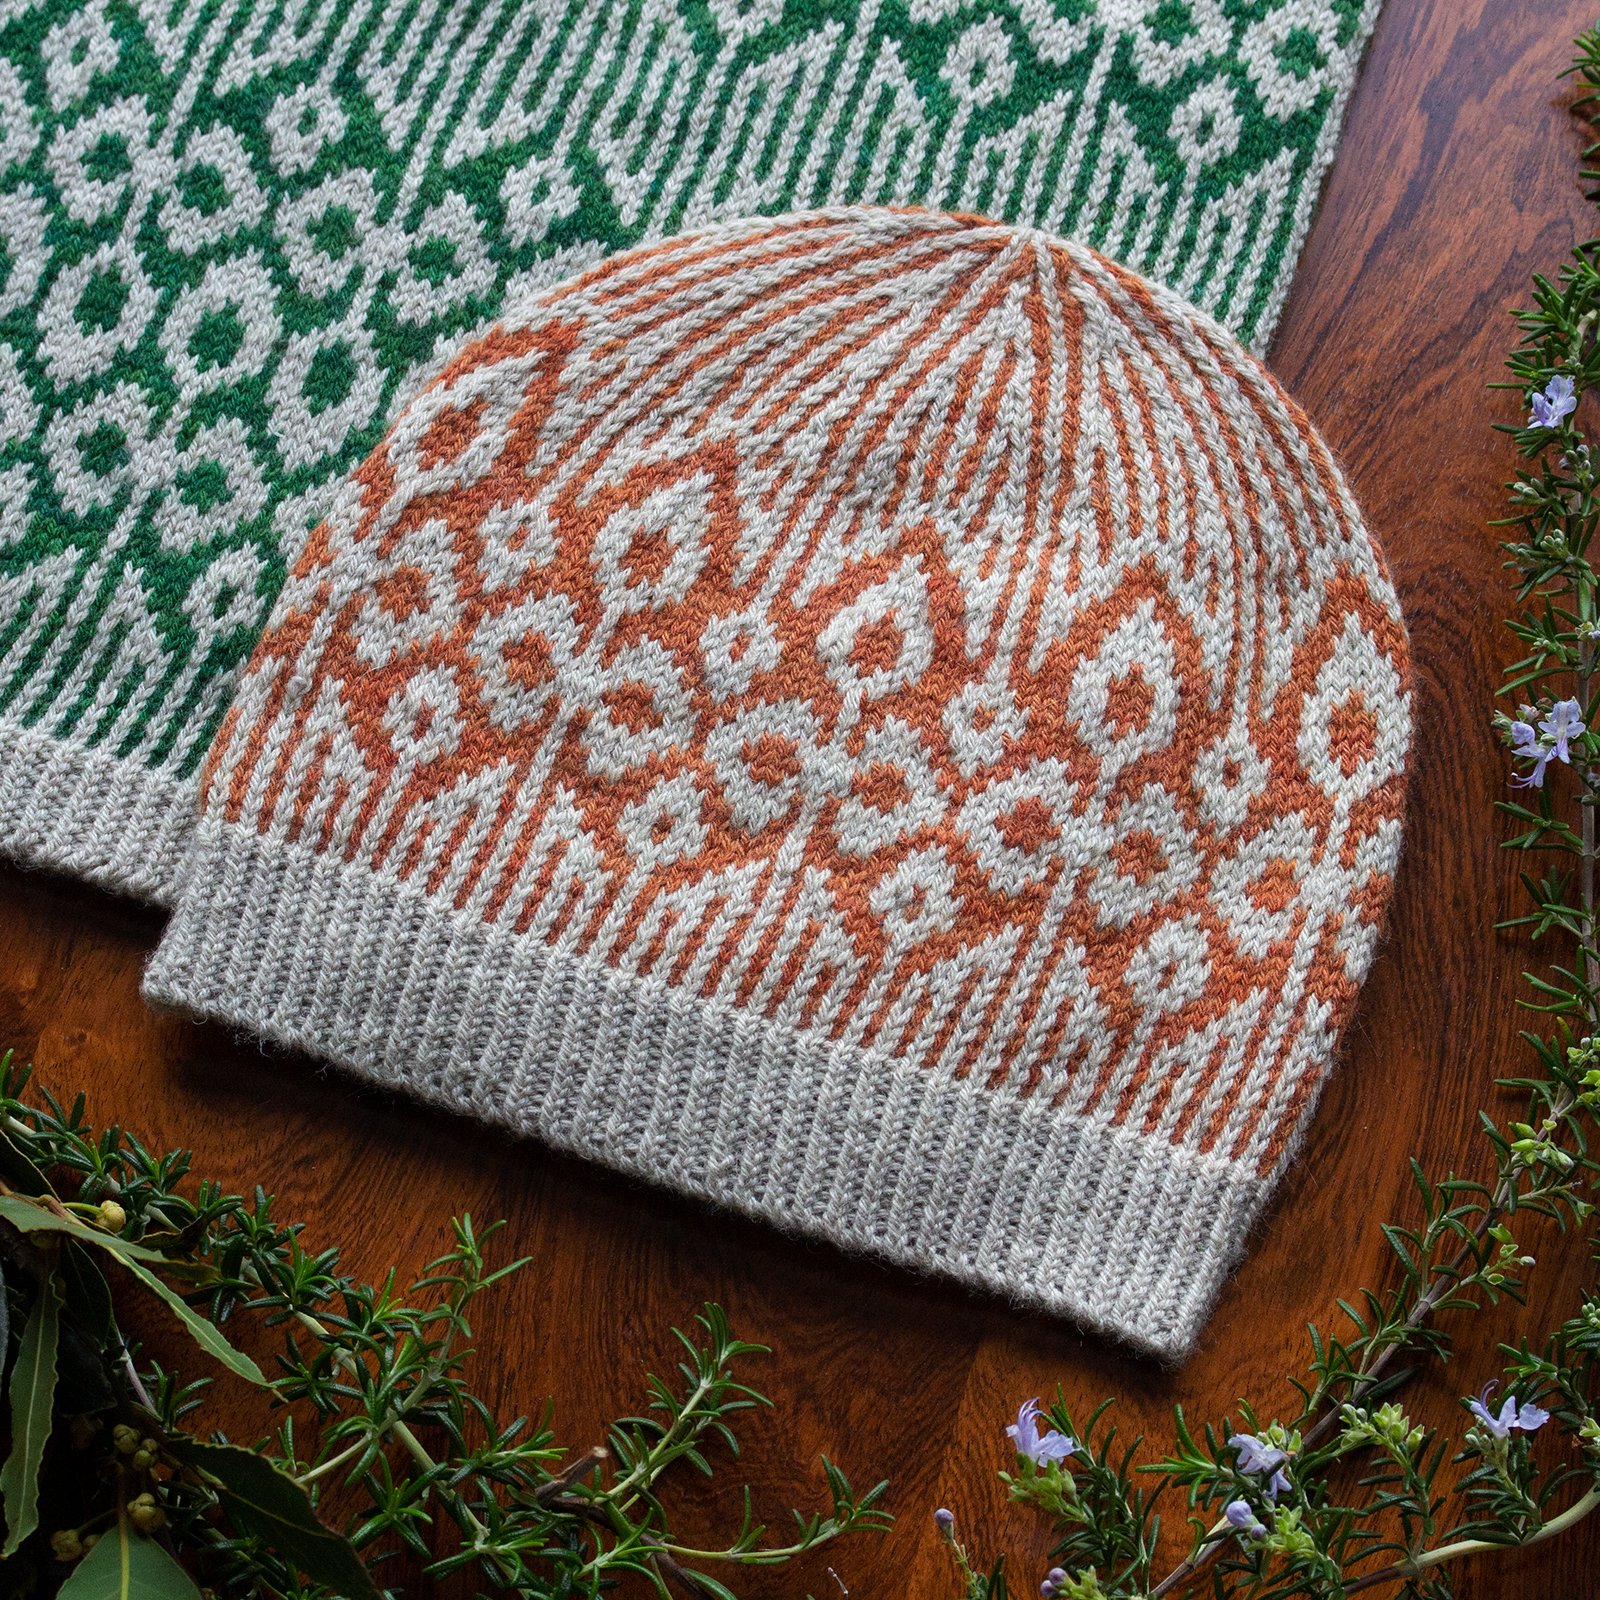
For any of the methods below, you can choose to soak your hat before shaping it, or you can lay your dry hat on a towel/mat or place it over a mould before spraying it with water or steaming it. Spraying or steaming can be an especially good option if you’re worried about colours bleeding or certain fibres like alpaca stretching out too much. I have an older blog post about spray-blocking, How to block textured knits, featuring my alpaca-blend Beeswax Scarf.
My Heartwood Hat sample drying over a balloon mould, viewed from above to show the crown.
The simplest method of blocking is to gently wash/soak your hat, carefully squeeze out the water, and lay it flat to dry. Don’t stretch it out, just pat it into shape and then leave it alone. If it’s a hat that I need to be perfect, eg if it’s a gift or a design sample, I’ll take some extra time to make sure nothing is distorted - the stitch repeats should be symmetrical, and the side edges should be tidy (I check this by following the column of stitches along each side). l also like to flip the hat over and tidy up the other side. A hat blocked this way will look great photographed flat.
My Heartwood Hat sample is laid flat to dry on a foam mat. The mat is covered in little pinpricks from past blocking adventures.
Another method I often use is blocking over a mould, eg a balloon balanced on a small bowl or jar. Wash the hat as before, but instead of laying it out flat, blow up a balloon to the same circumference as your head (or an inch or two smaller) and carefully wrangle the damp hat onto it. Turn the balloon to check the stitch repeats are placed evenly, and check if the brim’s cast-on edge is nicely horizontal. This method is excellent for showcasing a beautiful pattern at the crown, and it avoids any creases in the hat.
A variation of this method is to use a flatter mould like a plate or shallow bowl in place of the balloon. Once again, check that the stitch repeats are placed evenly, especially in relation to the rim of the plate/bowl, and check the underside too. This method enhances a tam or beret shape, and is another great method for showcasing a hat’s crown.
My Heartwood Hat sample drying on a balloon which is balanced on a jam jar. My little cat Tiny is keeping a watchful eye.
When it was time to block my Heartwood Hat sample, I decided to have it both ways: first I blocked it flat so it would be perfectly tidy for its flay-lay photos, and then once those were done I put it on a balloon and steamed it over the kettle to get rid of the creases for the modelled photos. The cats had a great time with the balloon once I was done with it, and because it was only inflated part-way they got a good half hour of play before a misplaced claw put an end to the fun!
Find out more about my Heartwood Hat pattern, including Ravelry and Payhip purchase options.
